Creating and Managing Projects
Projects in Azure DevOps are like organized folders that keep everything — your code, tasks, pipelines, and documentation — in one place. Whether you’re working alone or with a team, setting up and managing a project properly sets the foundation for success.
Creating a Project in Azure DevOps (Step-by-Step)
Let’s walk through how to create a new project in Azure DevOps. This is your starting point for managing code, tracking tasks, and automating your workflow.
Step 1: Access Azure DevOps
Visit dev.azure.com and sign in using your Microsoft account. You’ll land on your Azure DevOps dashboard where your organizations and projects are listed.
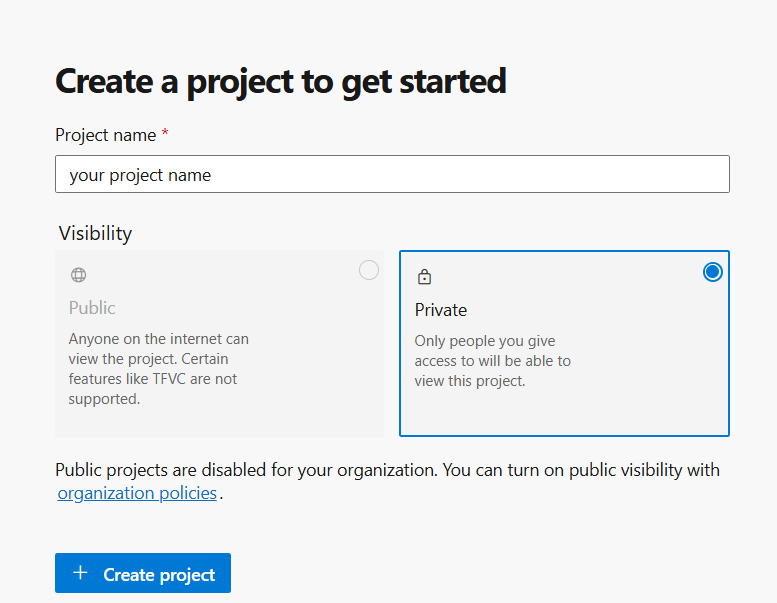
Start your new project from the DevOps home screen.
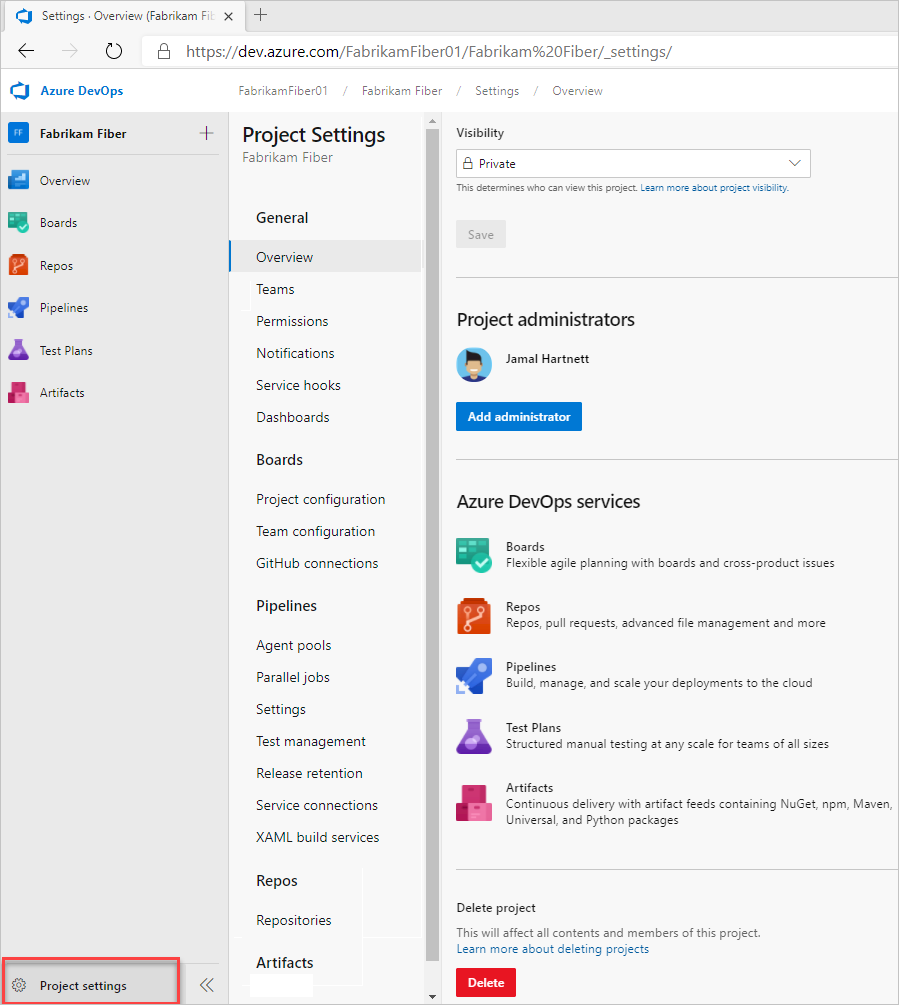
Configure project details during setup.
Step 2: Create a New Project
Click on "New Project". You’ll be asked to fill in some basic information:
- Project Name: Use a clear and meaningful name (e.g., MyECommerceApp)
- Visibility: Choose Private (recommended for most cases) or Public
- Version Control: Select Git (modern and widely used) or TFVC (legacy)
- Work Item Process: Pick a process — Agile (easy and flexible), Scrum, or CMMI for structured teams
Managing Your Azure DevOps Project
Once your project is created, you’ll unlock a full suite of tools to help manage your software lifecycle. Let’s explore the key areas you'll work with inside a project:
1. Managing Repositories
Every project includes a Git repository by default. Azure Repos allows you to:
- Create and manage branches
- Open pull requests for team reviews
- Set branch policies to protect your main code
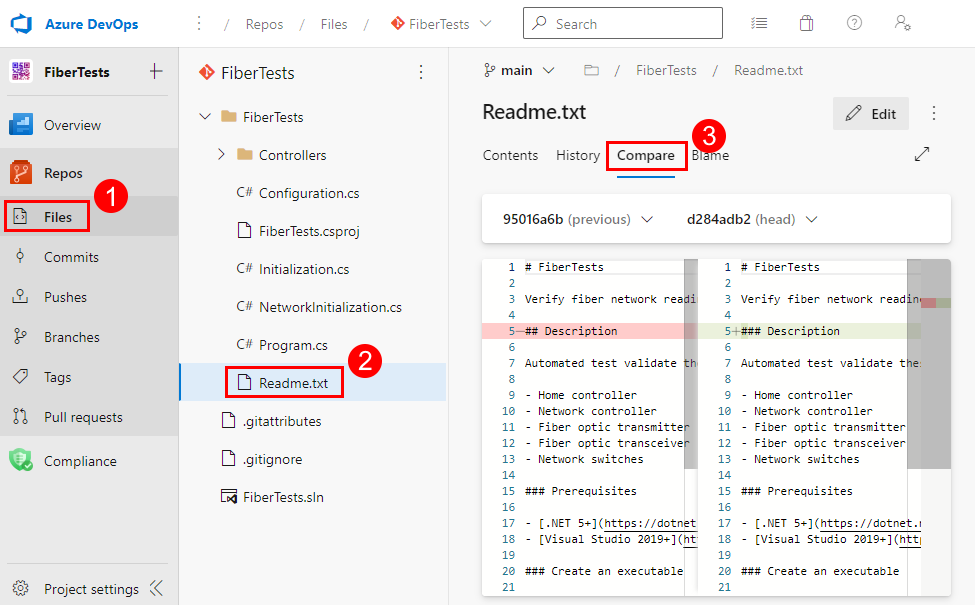
All your code and branches live in Azure Repos.
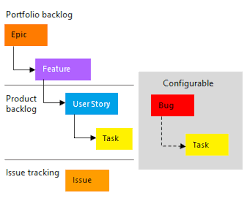
Track your progress visually with Boards and Sprints.
2. Tracking Work Items
Azure Boards gives you tools to manage tasks, bugs, and features. You can:
- Create work items for user stories or bugs
- Organize tasks in sprints
- Track everything using Kanban or Scrum boards
3. Setting Up Pipelines
Azure Pipelines lets you automate your builds and deployments. Once code is committed, a pipeline can:
- Automatically build your application
- Run tests to catch issues early
- Deploy to servers or cloud services
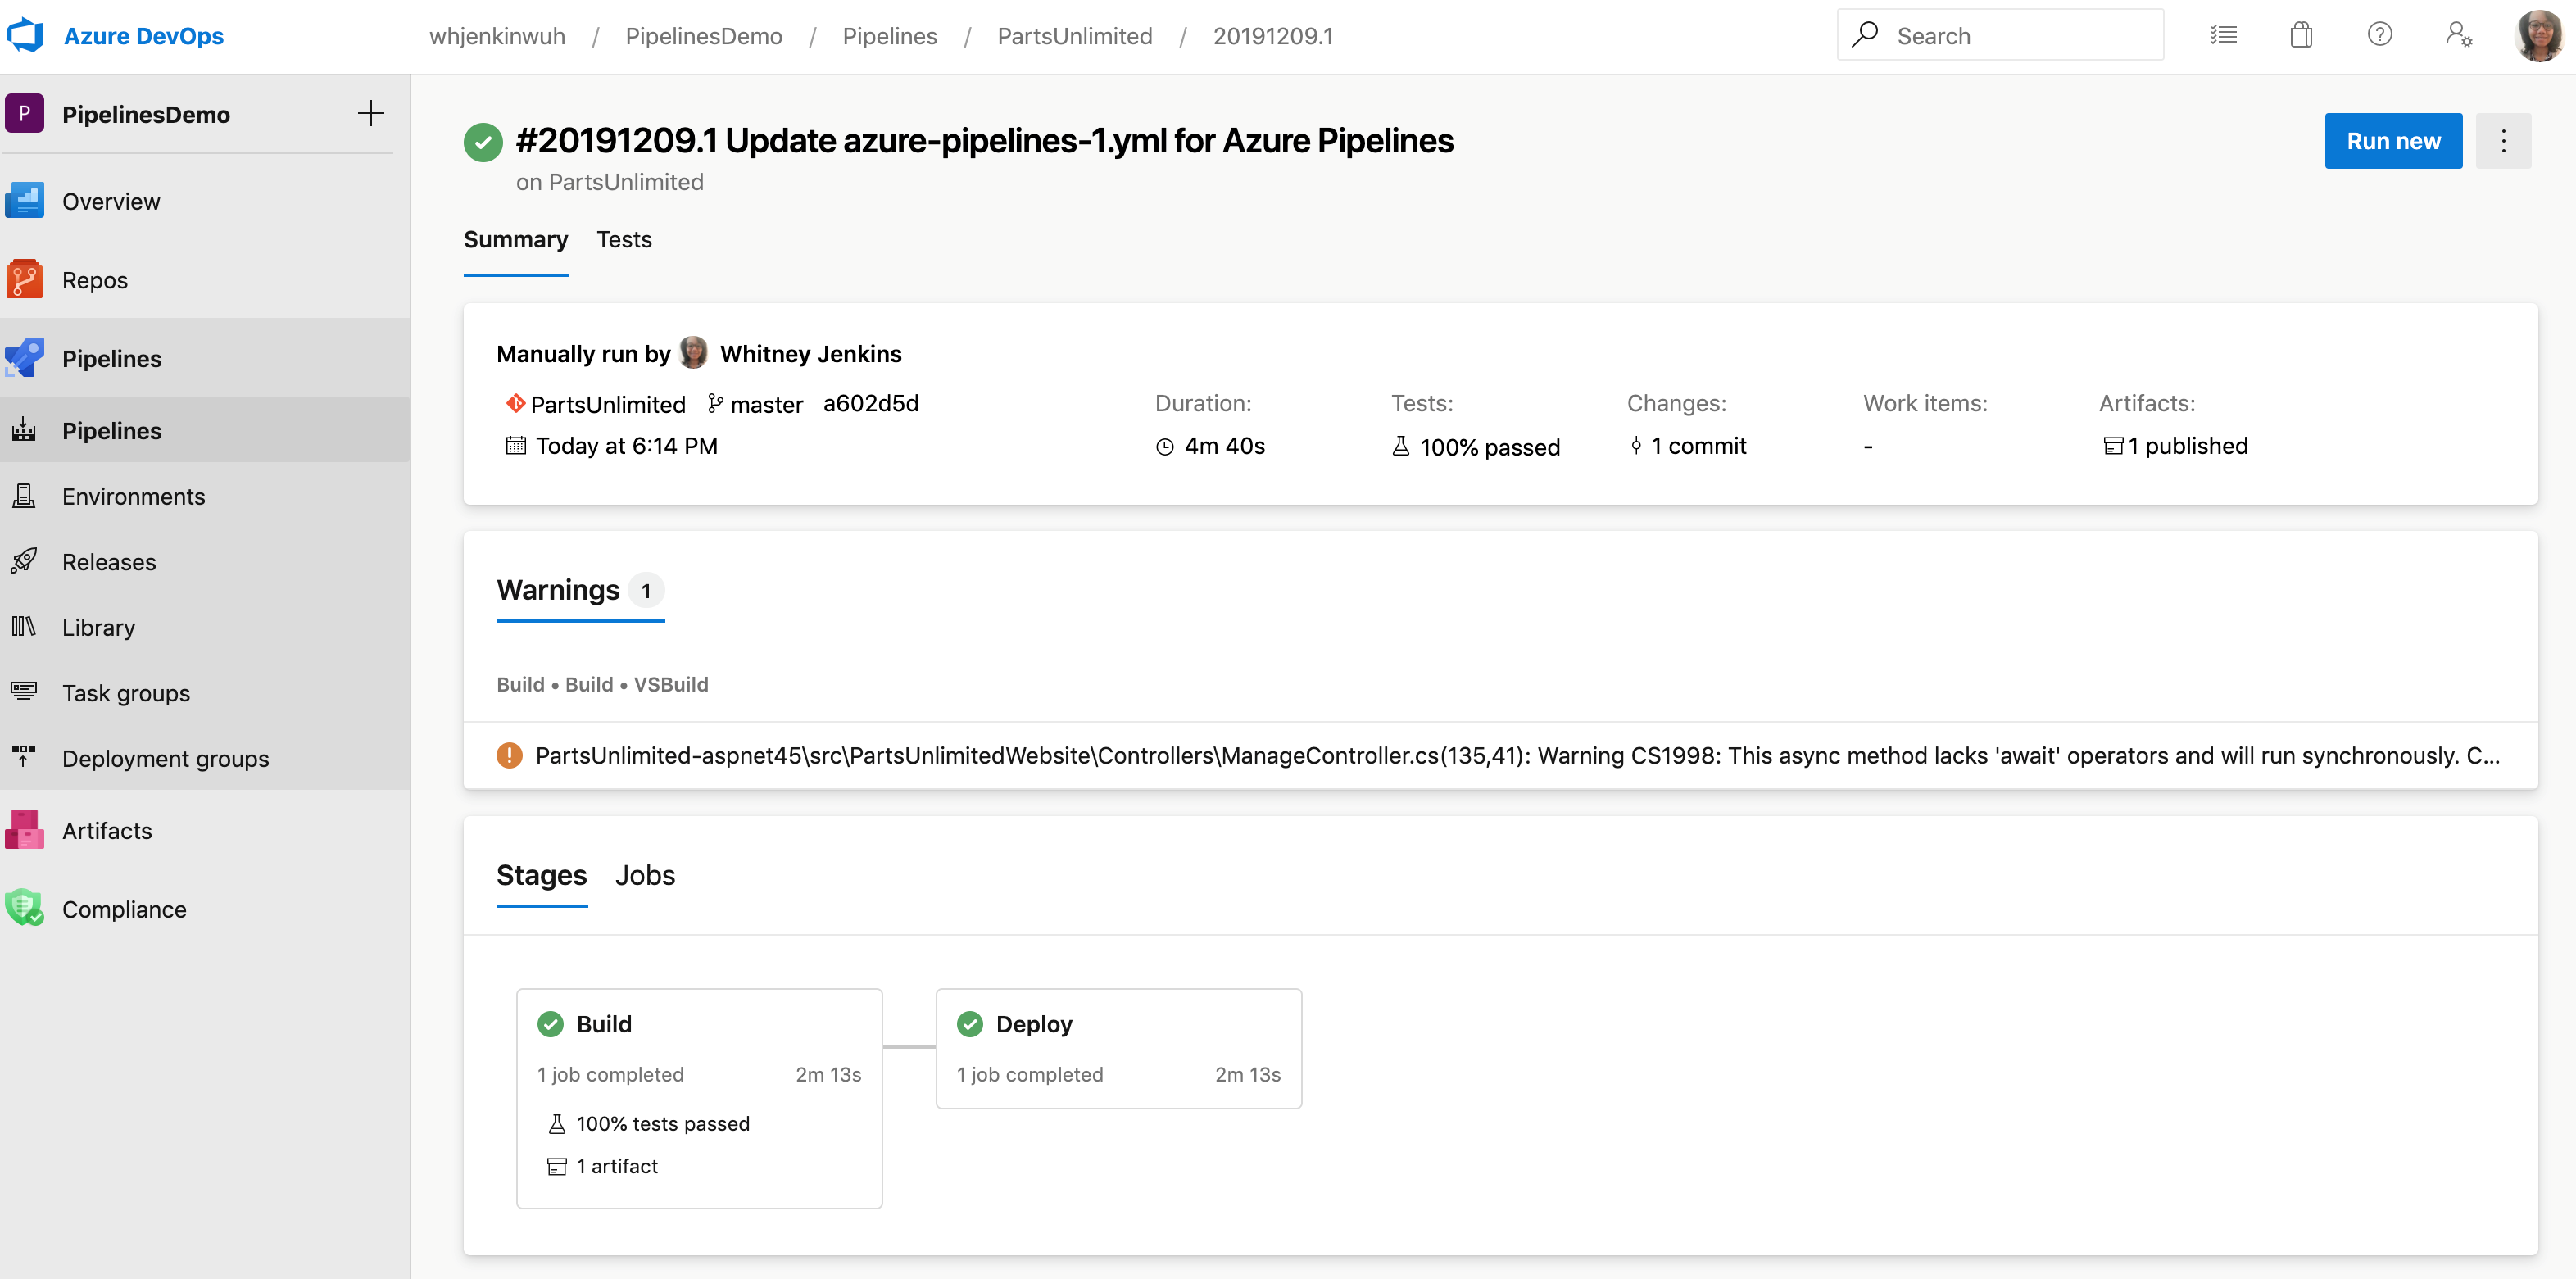
CI/CD automation in action through Pipelines.
Conclusion
Creating and managing projects in Azure DevOps gives you a clean, organized environment to build and deliver quality software. You now have access to powerful tools like Boards, Repos, and Pipelines to keep your development process smooth, efficient, and collaborative.
In the next section, we’ll explore **Azure Repos** more deeply and learn how to create, clone, and manage your code effectively.