Setting up an Azure DevOps Organization
Now that you've created your Microsoft Azure account, it’s time to build your own space where development magic happens — your Azure DevOps organization. Think of it as your digital workspace where you and your team can plan, code, test, and deploy software collaboratively.
What Is an Azure DevOps Organization?
An Azure DevOps organization is like your team’s virtual headquarters in the cloud. Inside this organization, you can manage multiple projects, control access, collaborate with team members, store code, run pipelines, and much more.
Whether you're a student, freelancer, or part of a company, setting up your own DevOps organization gives you a structured environment to manage software projects end to end.
Step-by-Step Guide to Setting Up Your Organization
Let’s walk through the process of creating your Azure DevOps organization in a few simple steps:
Step 1: Visit the Azure DevOps Website
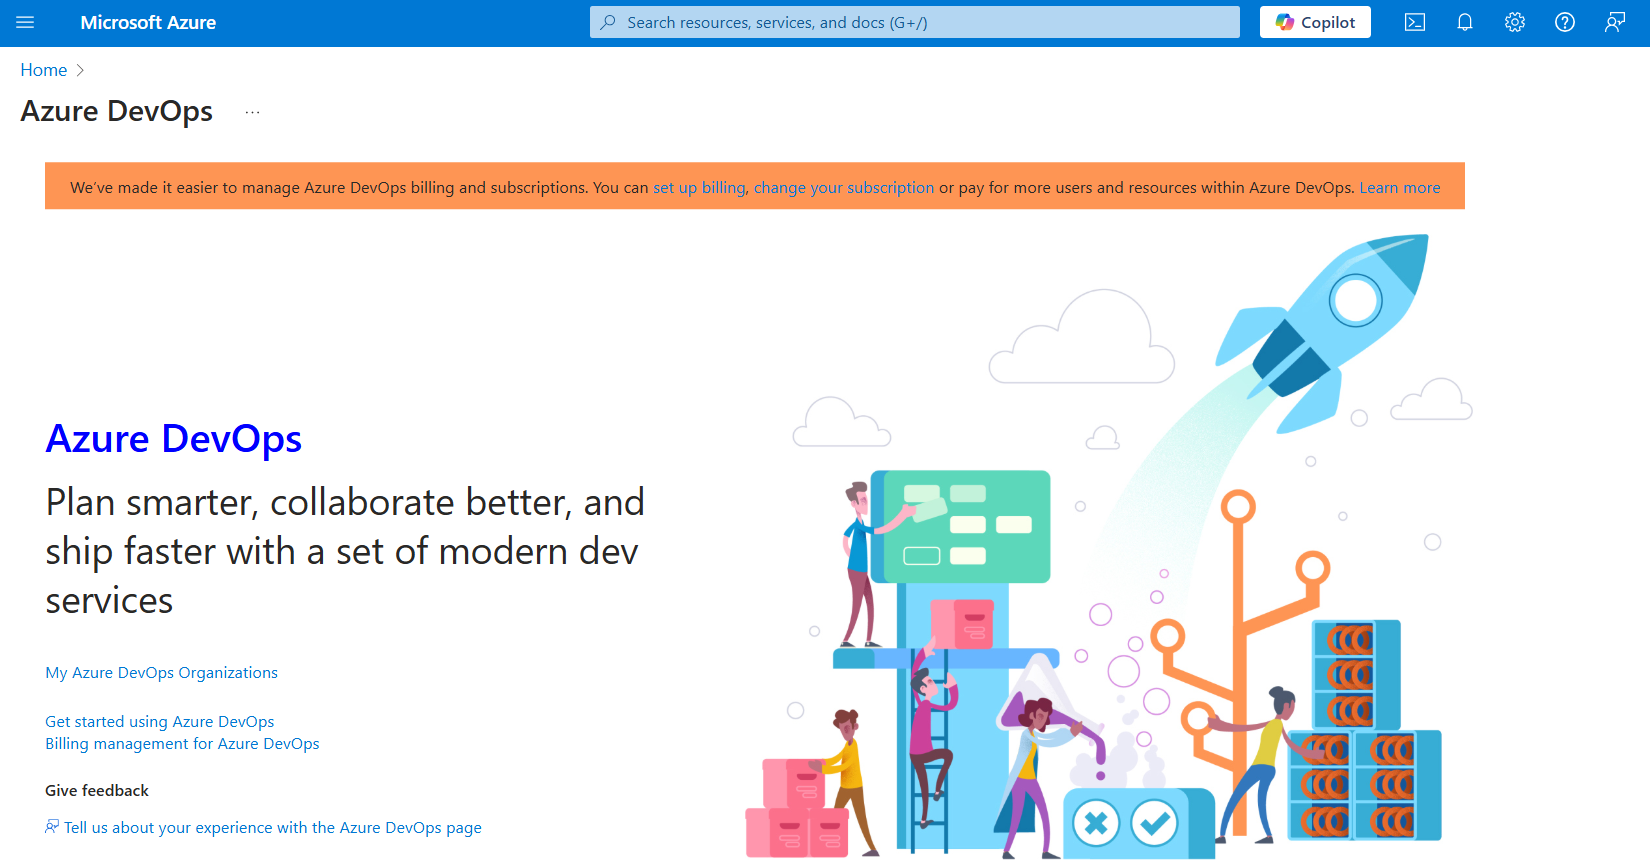
Go to https://dev.azure.com. If you're not already signed in, use the Microsoft account you created earlier.
After signing in, you’ll land on the Azure DevOps home page — a clean and simple interface where you’ll begin setting things up.

This is where your DevOps journey begins.

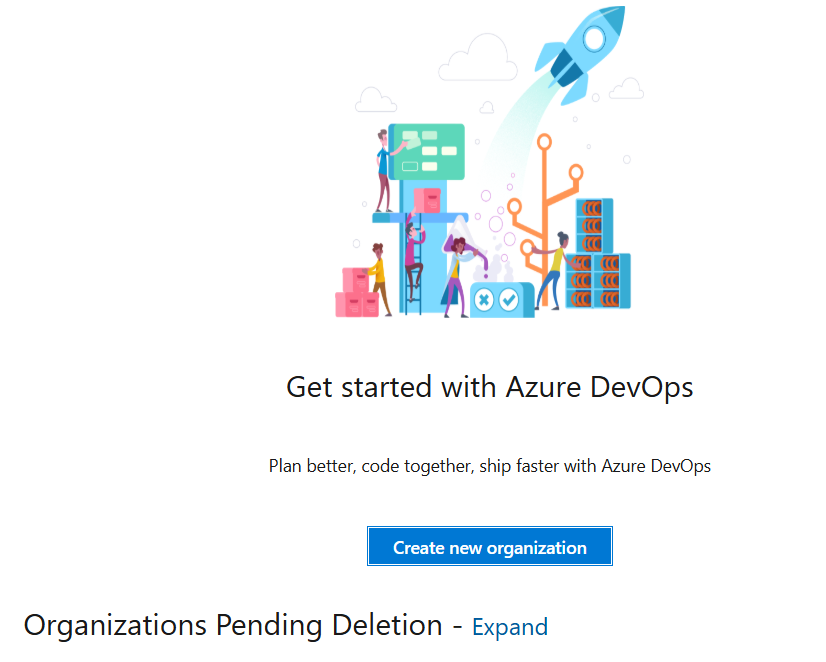
Creating a new organization for your projects.
Step 2: Create a New Organization
Click on the "Create new organization" button. You’ll be prompted to choose a name for your organization — make it meaningful (e.g., your name, your team name, or company).
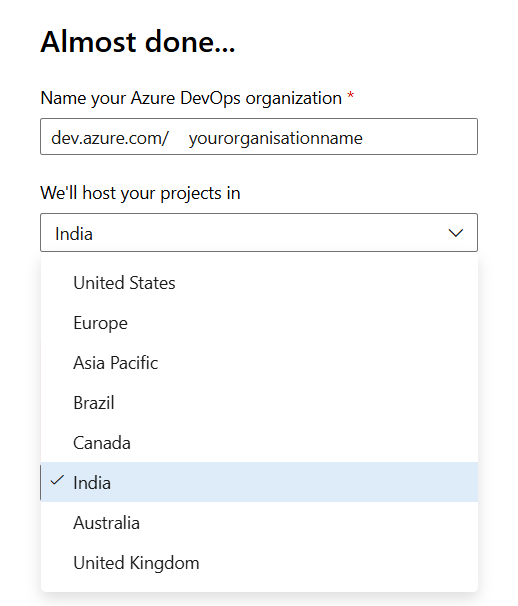
This name becomes part of your Azure DevOps URL (e.g., https://dev.azure.com/YourOrgName), so choose wisely!
Step 3: Select Your Region
Next, you’ll choose a region — this determines where your data will be stored and processed. For the best speed and performance, pick the region closest to your location or your team.
Don’t worry — it won’t affect your ability to work with teammates from around the world.

Choose a region that's geographically closer to you.

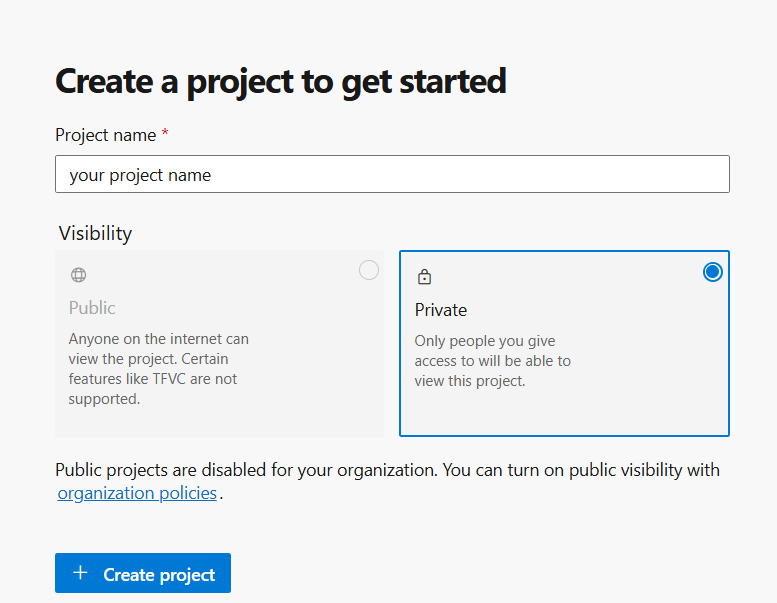
Your first project begins here.
Step 4: Create Your First Project
Now it's time to create a project inside your organization. Click “New Project” and fill out the form:
- Project Name: Give your project a descriptive name (e.g., "TodoApp", "StudentPortal")
- Visibility: Choose Private to limit access or Public for open sharing
- Version Control: Select Git (recommended) or TFVC (legacy)
- Work Item Process: Choose Agile (default), Scrum, or Basic based on how you want to track tasks
Click “Create” and your new project will be ready in seconds!
What Happens Next?
Once your project is ready, you’ll see a dashboard with various tools like Boards, Repos, Pipelines, Test Plans, and Artifacts — all under one roof.
From here, you can start adding team members, create repositories for your code, plan work using agile boards, and build your CI/CD pipelines to automate deployments.
Tips for Freshers
- Start with one simple project: This helps you get familiar without feeling overwhelmed.
- Use the Agile work item process: It’s easy to understand and great for beginners.
- Experiment with features: Create a repository, try a sample pipeline, or invite a friend to collaborate.
- Bookmark your DevOps URL: So you can return to your dashboard anytime.
Conclusion
Setting up an Azure DevOps organization is your first big step into the world of professional development workflows. With just a few clicks, you’ve created a structured space where you can organize work, collaborate with others, and bring your coding projects to life.
In the next section, we’ll guide you through how to navigate the Azure DevOps UI — so you can make the most out of your tools from day one.